Get rid of certificate errors with Avi (NSX-ALB) and Hashicorp Vault!
Have you ever seen this error before?
This is a really important issue in enterprise infrastructure because unauthenticated TLS connections teach our end users to be complacent and ignore this error.
TLS Authentication
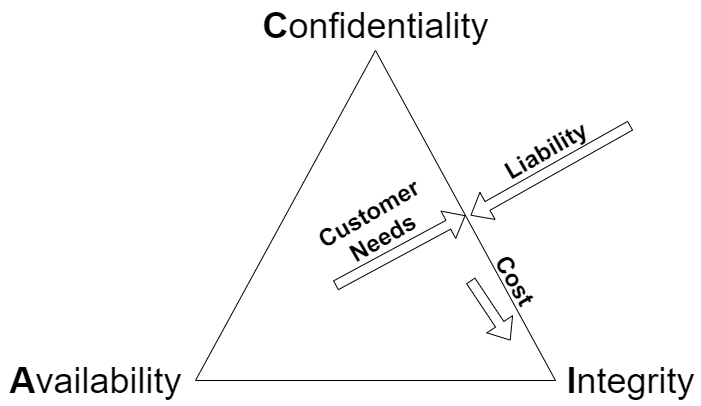
SSL/TLS for internal enterprise administration typically only addresses the confidentiality aspects of an organizational need - yet the integrity aspects are not well realized:
This is an important aspect of our sense of enterprise security, but the level of effort to authenticating information endpoints is high for TLS, so we make do with what we have.
The practice of ignoring authentication errors for decades has promoted complacency
Here's another error that enterprise systems administrators see all the time:
1ssh {{ ip }}
2The authenticity of host '{{ ip }} ({{ ip }})' can't be established.
3RSA key fingerprint is SHA256:{{ hash }}.
4Are you sure you want to continue connecting (yes/no)?
This probably looks familiar too - Secure Shell (SSH) follows a different method of establishing trust, where the user should verify that hash is correct by some method, and if it changes, it'll throw an error that we hopefully don't ignore:
 1ssh {{ ip }}
 2@@@@@@@@@@@@@@@@@@@@@@@@@@@@@@@@@@@@@@@@@@@@@@@@@@@@@@@@@@@
 3@ WARNING: REMOTE HOST IDENTIFICATION HAS CHANGED! @
 4@@@@@@@@@@@@@@@@@@@@@@@@@@@@@@@@@@@@@@@@@@@@@@@@@@@@@@@@@@@
 5IT IS POSSIBLE THAT SOMEONE IS DOING SOMETHING NASTY!
 6Someone could be eavesdropping on you right now (man-in-the-middle attack)!
 7It is also possible that a host key has just been changed.
 8The fingerprint for the RSA key sent by the remote host is
 9SHA256:{{ hash }}.
10Please contact your system administrator.
11Add correct host key in known_hosts to get rid of this message.
12Offending ECDSA key in known_hosts
13{{ cipher }} host key for {{ ip }} has changed and you have requested strict checking.
14Host key verification failed.
SSH is performing something very valuable here - authentication. By default, SSH will record a node's SSH hash in a file called known_hosts to ensure that the server is in fact the same as the last time you accessed it. In turn, once the server authenticates, you provide some level of authentication (user, key) afterward to ensure that you are who you say you are too. Always ensure that the service you're giving a secret to (like your password!) is authenticated or validated in some way first!
Web of Trust versus Centralized Identity
Web-of-Trust (WoT)
Web-of-Trust (WoT) is typically the easiest form of authentication scheme to start out with but results in factorial scaling issues later on if executed properly. In this model, it's on the individual to validate identities from each peer they interact with since WoT neither requires nor wants a centralized authority to validate against.
Typically enterprises use WoT because it's baked into a product, not specifically due to any particular need. Certain applications work well with it - so generally you should:
-
Keep your circle small
-
Replace crypto regularly
-
Leverage multiple identities for multiple tasks
-
e.g. separate your code signing keys from your SSH authentication keys
Pros
- Easy initial set-up
- Doesn't depend on a third party to establish infrastructure
Cons
- The user is empowered to make both good and bad decisions, and the vast majority of users don't care enough about security to maintain vigilance
- If you're in an organization with hundreds of "things to validate", you have to personally validate a lot of keys
- It's a lot of work to properly validate - Ex. You probably don't ask for a person's ID every time you share emails with them
- Revocation: If a key is compromised, you're relying on every single user to revoke it (or renew it, change your crypto folks) in a timely manner. This is a lot of work depending on how much a key is used.
Examples: SSH, PGP
Centralized Identity
Centralized Identity services are the sweetheart of large enterprises. Put your security officers in charge of one of these babies and they'll make it sing.
In this model, it's on the Identity Administrator to ensure the integrity of any Identity Store. They'll typically do quite a bit better than your average WoT user because it's their job to do so.
Centralized Identity services handle routine changes like ID refreshes/revocations much more easily with dedicated staffing - mostly because the application and maintainer are easy to define. But here's the rub, you have to be able to afford it. Most of the products that fit in this category are not free and require at least part-time supervision by a capable administrator.
It's not impossible, though. One can build centralized authentication mechanisms with open source tooling, it just takes work. If you aren't the person doing this work, you should help them by being a vigilant user - if an identity was compromised, report it quickly, even if it was your fault - the time to respond here is vital. Try to shoulder some of this weight whenever you can - it's an uphill hike for the people doing it and every little contribution counts.
Back to TLS and Certificates
In the case of an Application Delivery Administrator, an individual is responsible for the integrity and confidentiality of the services they deliver. This role must work hand-in-glove with Identity administrators in principle, and both are security administrators at heart.
This is really just a flowery way to say "get used to renewing and filing Certificate Signing Requests (CSRs)".
In an ideal world, an Application Delivery Controller**(ADC)** will validate the integrity of a backend server (Real Server) before passing traffic to it, in addition to providing the whole "CIA Triad" to clients. Availability is an ADC's thing, after all.
Realistically an ADC Administrator will only control one of these two legs - and it's plenty on its own. Here's one way to execute this model.
Certificate Management
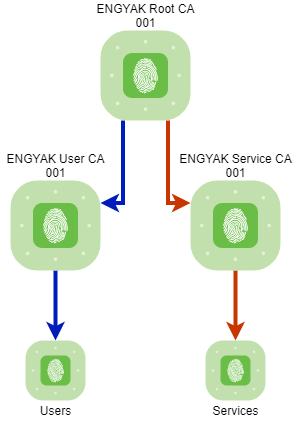
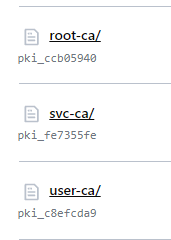
Enough theory, let's do some things. First, we'll build a PKI inside of HashiCorp Vault - this assumes a full Vault installation. Here's a view of the planned Certificate Hierarchy:
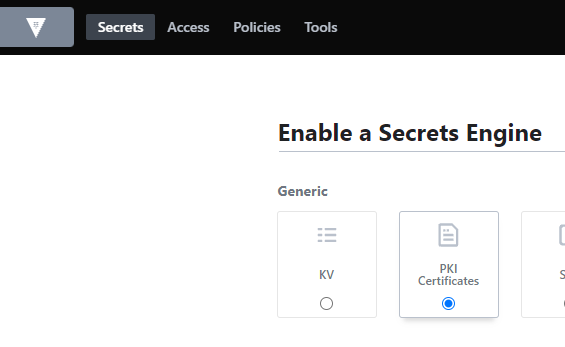
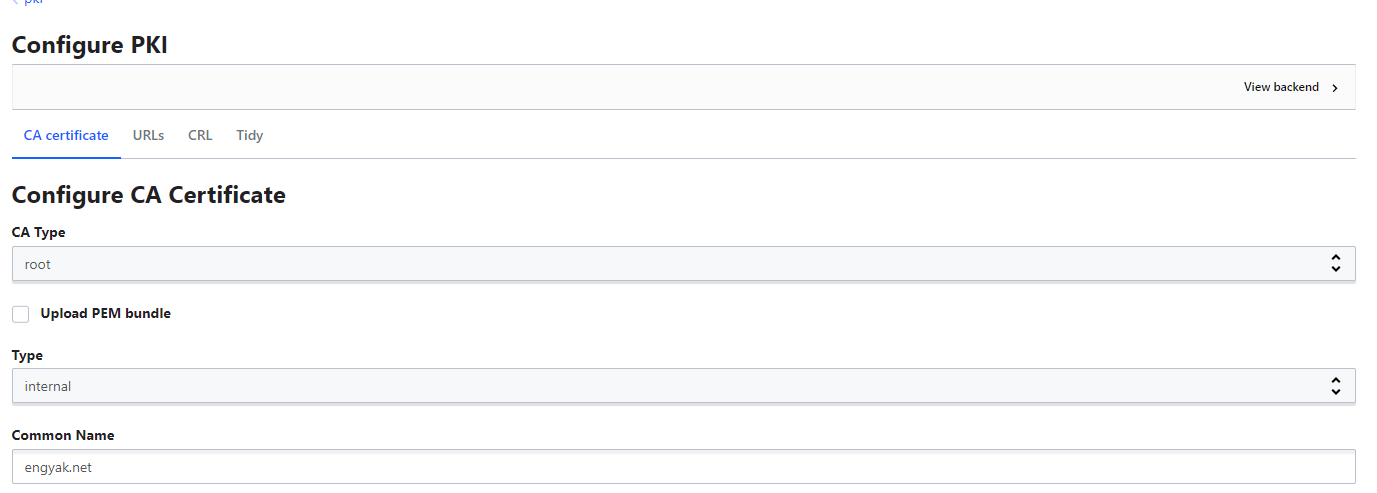
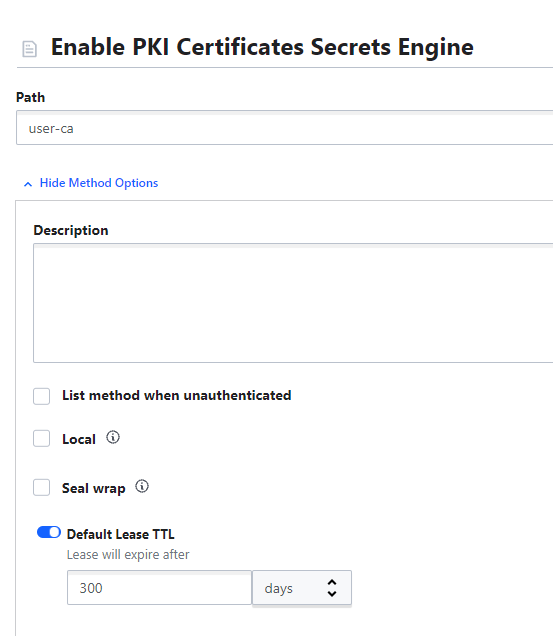
From the HashiCorp Vault GUI - let's set up a PKI secrets engine for the root CA:
Note: Default duration is 30 days, so I've overridden this by setting the default and max-lifetime under each CA labeled as "TTL"
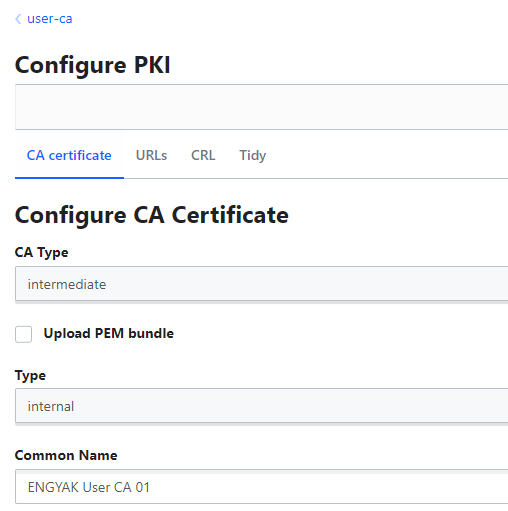
Let's create the services and user CAs:
This will provide a CSR - we need to sign it under the root CA:
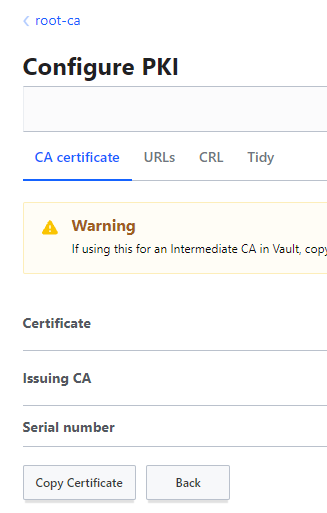
Copy the resulting certificate into your clipboard - these secrets engines are autonomous, and don't interoperate - so we'll have to install it into the intermediate CA.
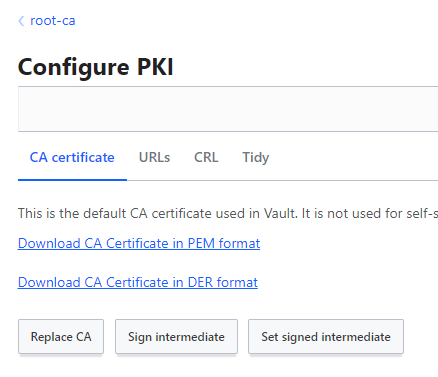
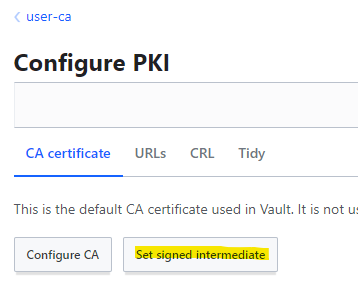
We install the certificate via the "Set signed intermediate" button in Vault:
Now, we have a hierarchical CA!
NB: You will need to create a Vault "role" here - https://www.vaultproject.io/docs/secrets/pki
Mega NB: The root CA should nominally be "offline" and at a minimum part of a separate Vault instance!
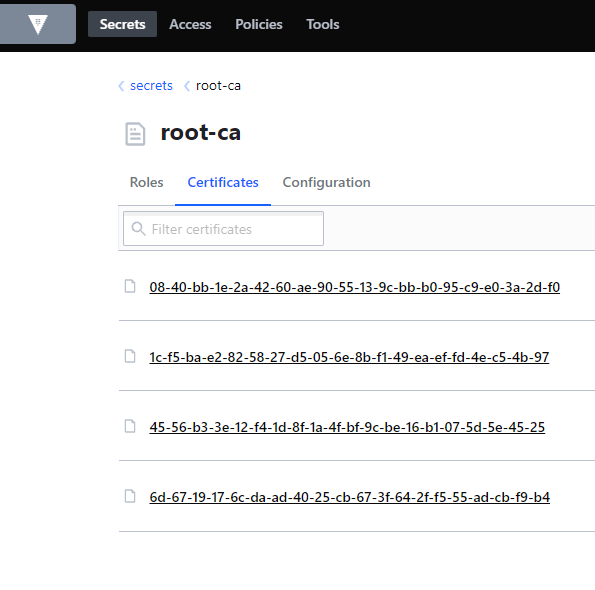
For this post, we'll just be issuing certificates manually. We need to extract the intermediate and root certificates to install in NSX ALB and participating clients. These can be pulled from the root-ca module:
Note: Vault doesn't come with a certificate reader as of 1.8.3. You can read these certificates with online tools or by performing the following command with OpenSSL:
1openssl x509 -in cert1.crt -noout -text
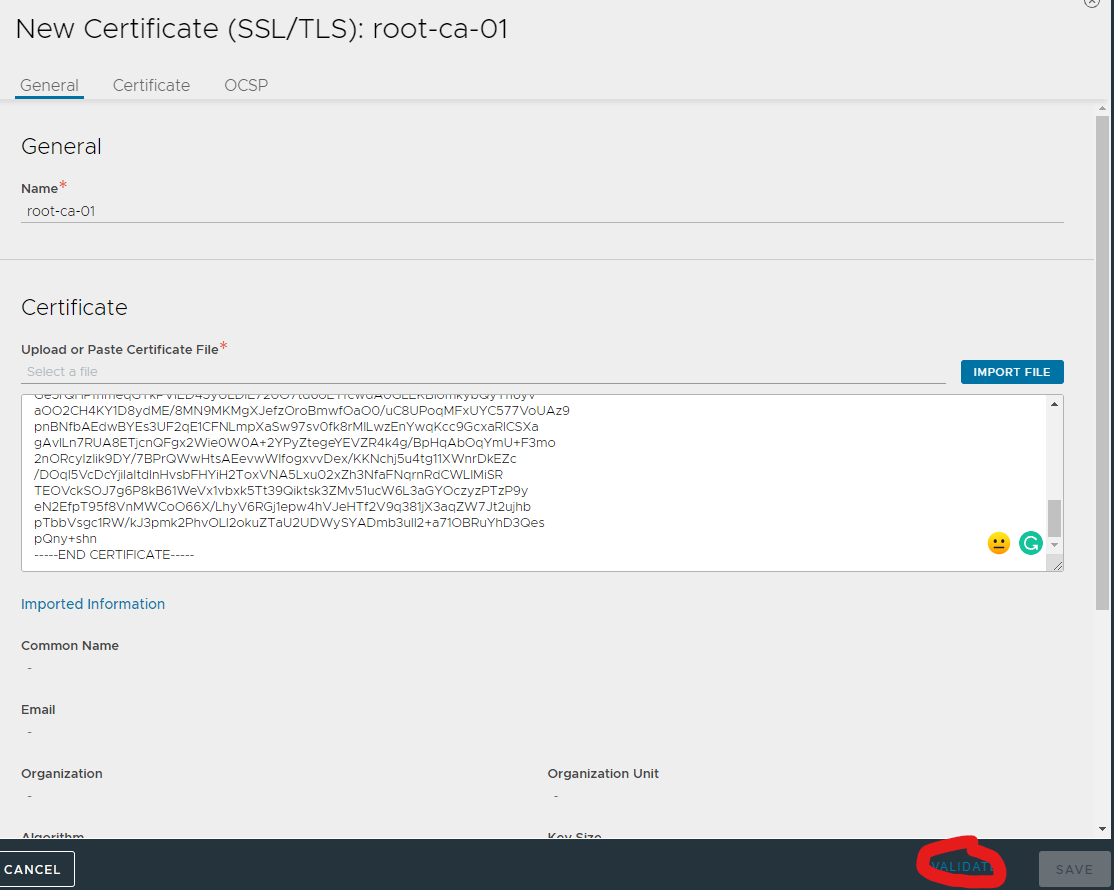
Once we have the files, let's upload them to Avi:
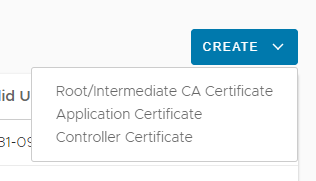
For each certificate, click "Root/Intermediate CA Certificate" and Import. Note that you do need to click on Validate before importing.
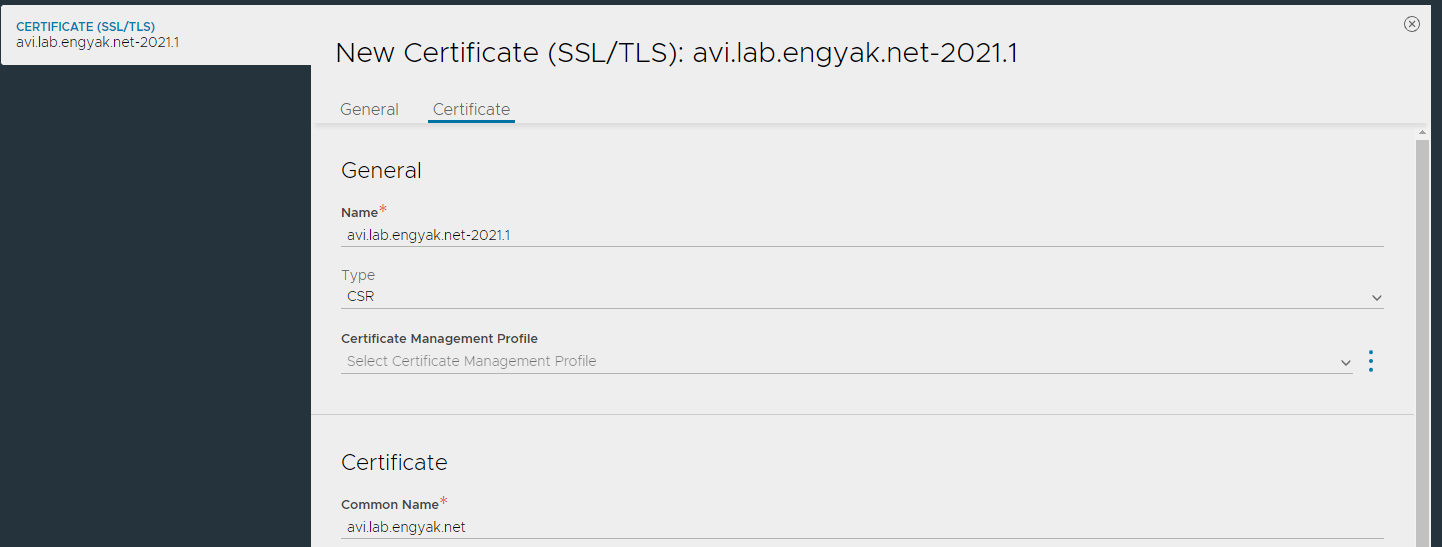
Now that we have the CA available, we should start by authenticating Avi itself and create a controller certificate:
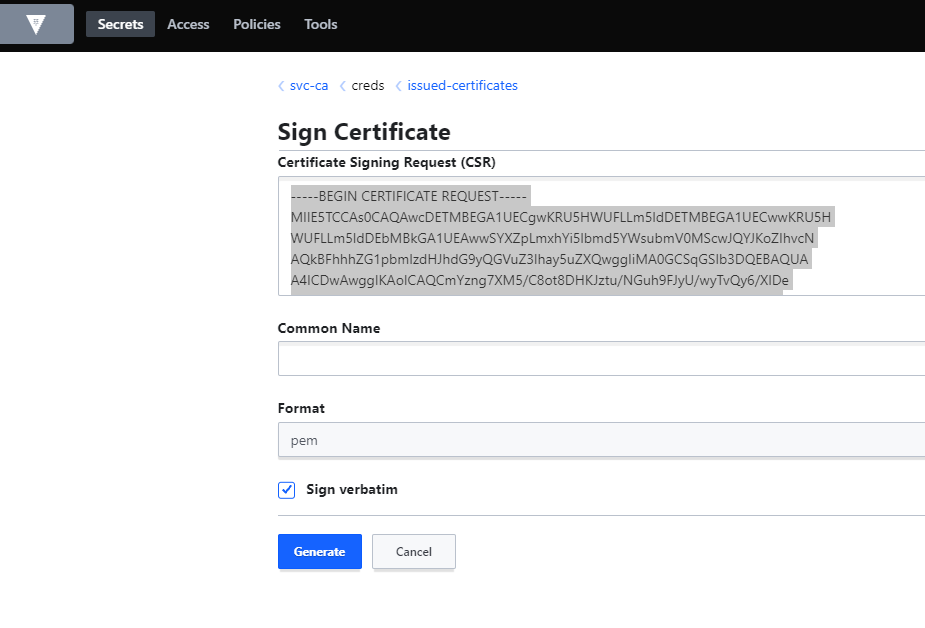
Fulfilling the role of PKI Administrator, let's sign the CSR after verifying authenticity.
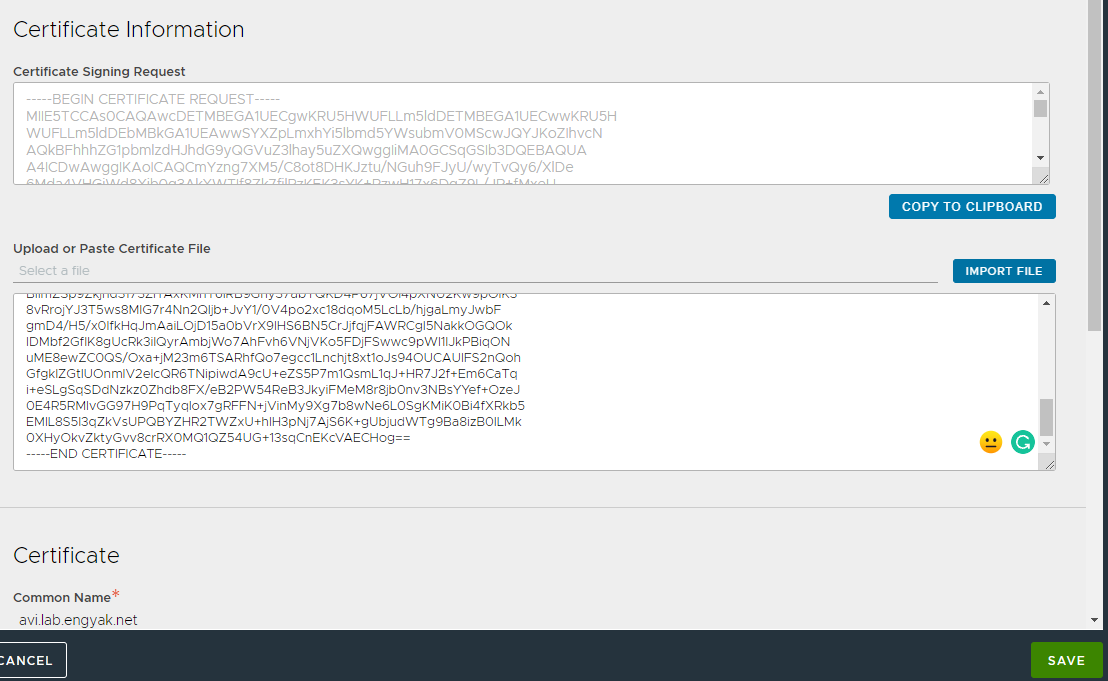
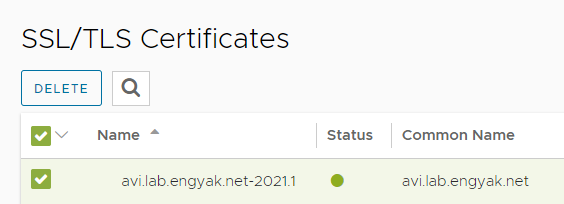
Back to the role of Application Administrator! We've received the certificate, let's install it in the Avi GUI!
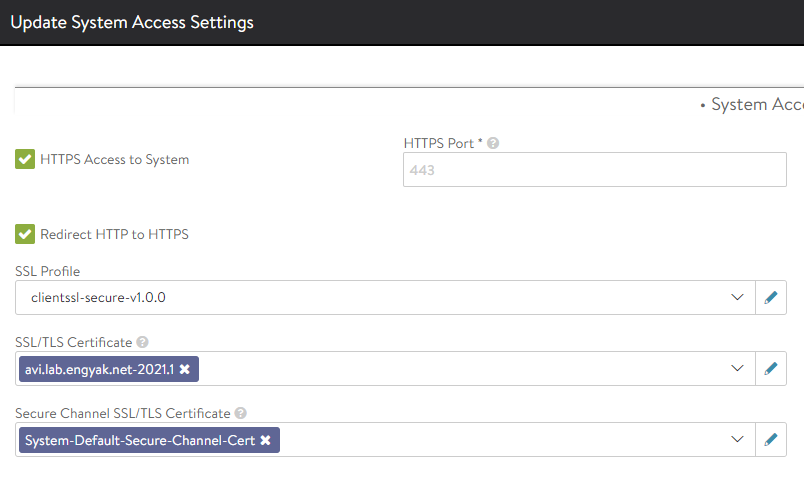
Once we've verified the certificate is healthy, let's apply it to the management plane under Administration -> Settings -> Access Settings:
At this point, we'll need to trust the root certificate created in Vault - else we'll still see certificate errors. Once that's done, we'll be bidirectionally authenticated with the Avi controller!
From here on out - we'll be able to leverage the same process, in short:
-
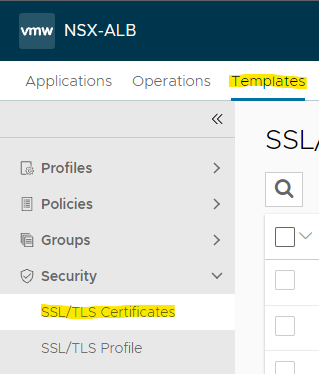
Under Avi -> Templates -> Security -> TLS/SSL Certificates, create a new Application CSR
-
Ensure that all appropriate Subject Alternative Names (SANs)are captured!
-
Under Vault -> svc-ca -> issued-certificates -> Sign Certificate
-
Copy issued certificate to TLS Certificate created in the previous step
-
Assign to a virtual service. Unlike F5 LTM, this is decoupled from the clientssl profile.

